
April Snowfall


April Snowfall

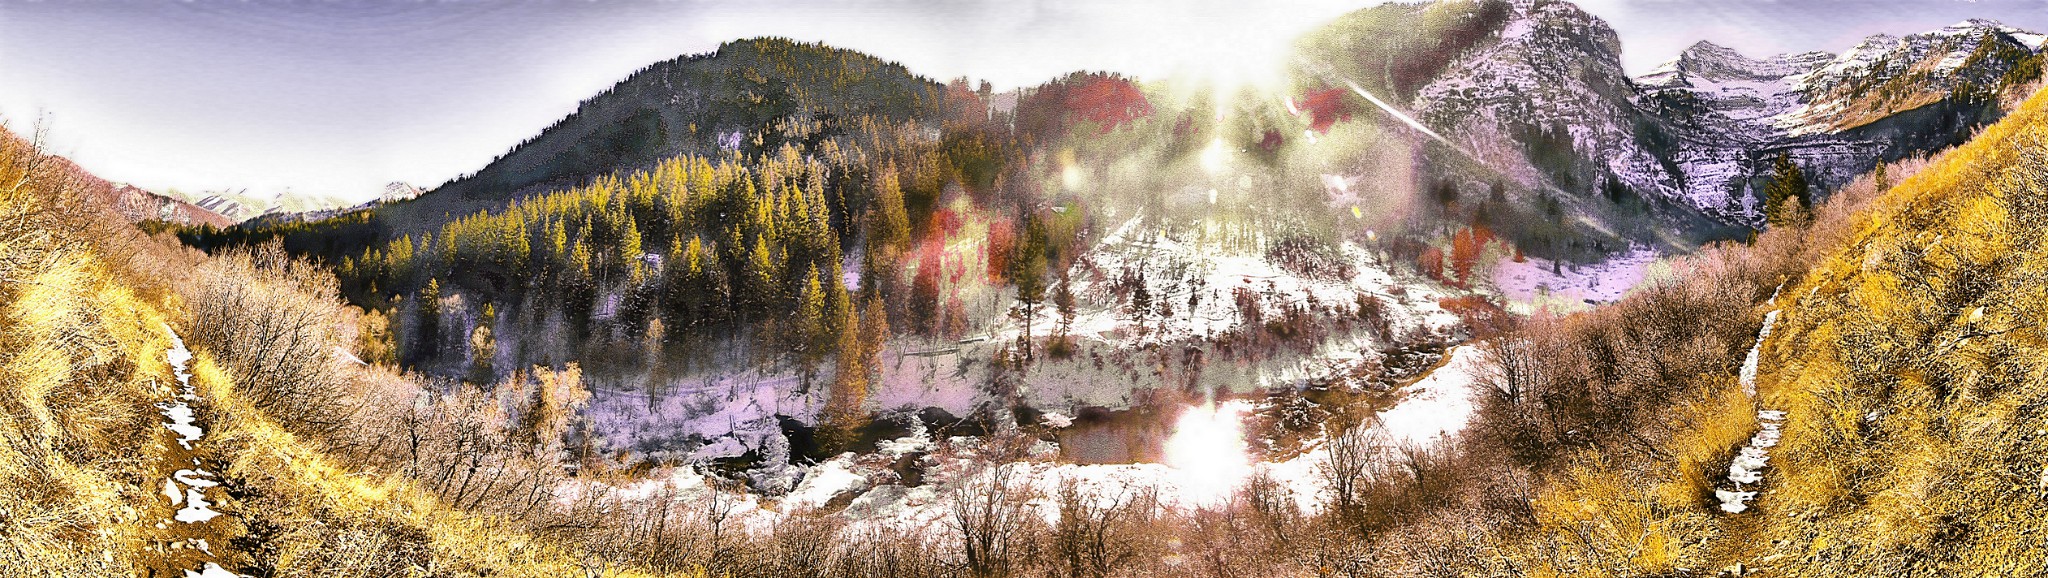
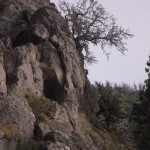
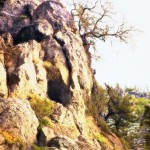
 This picture was a revolutionary picture for me. I discovered an interesting style for creating pictures. It works like this.
-noise 20 -bilateral 30,60 -blur 2 -sharpen 100 -n 0,255 you can tack on a -sepia to that if you want to get the sepia affect.

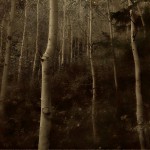


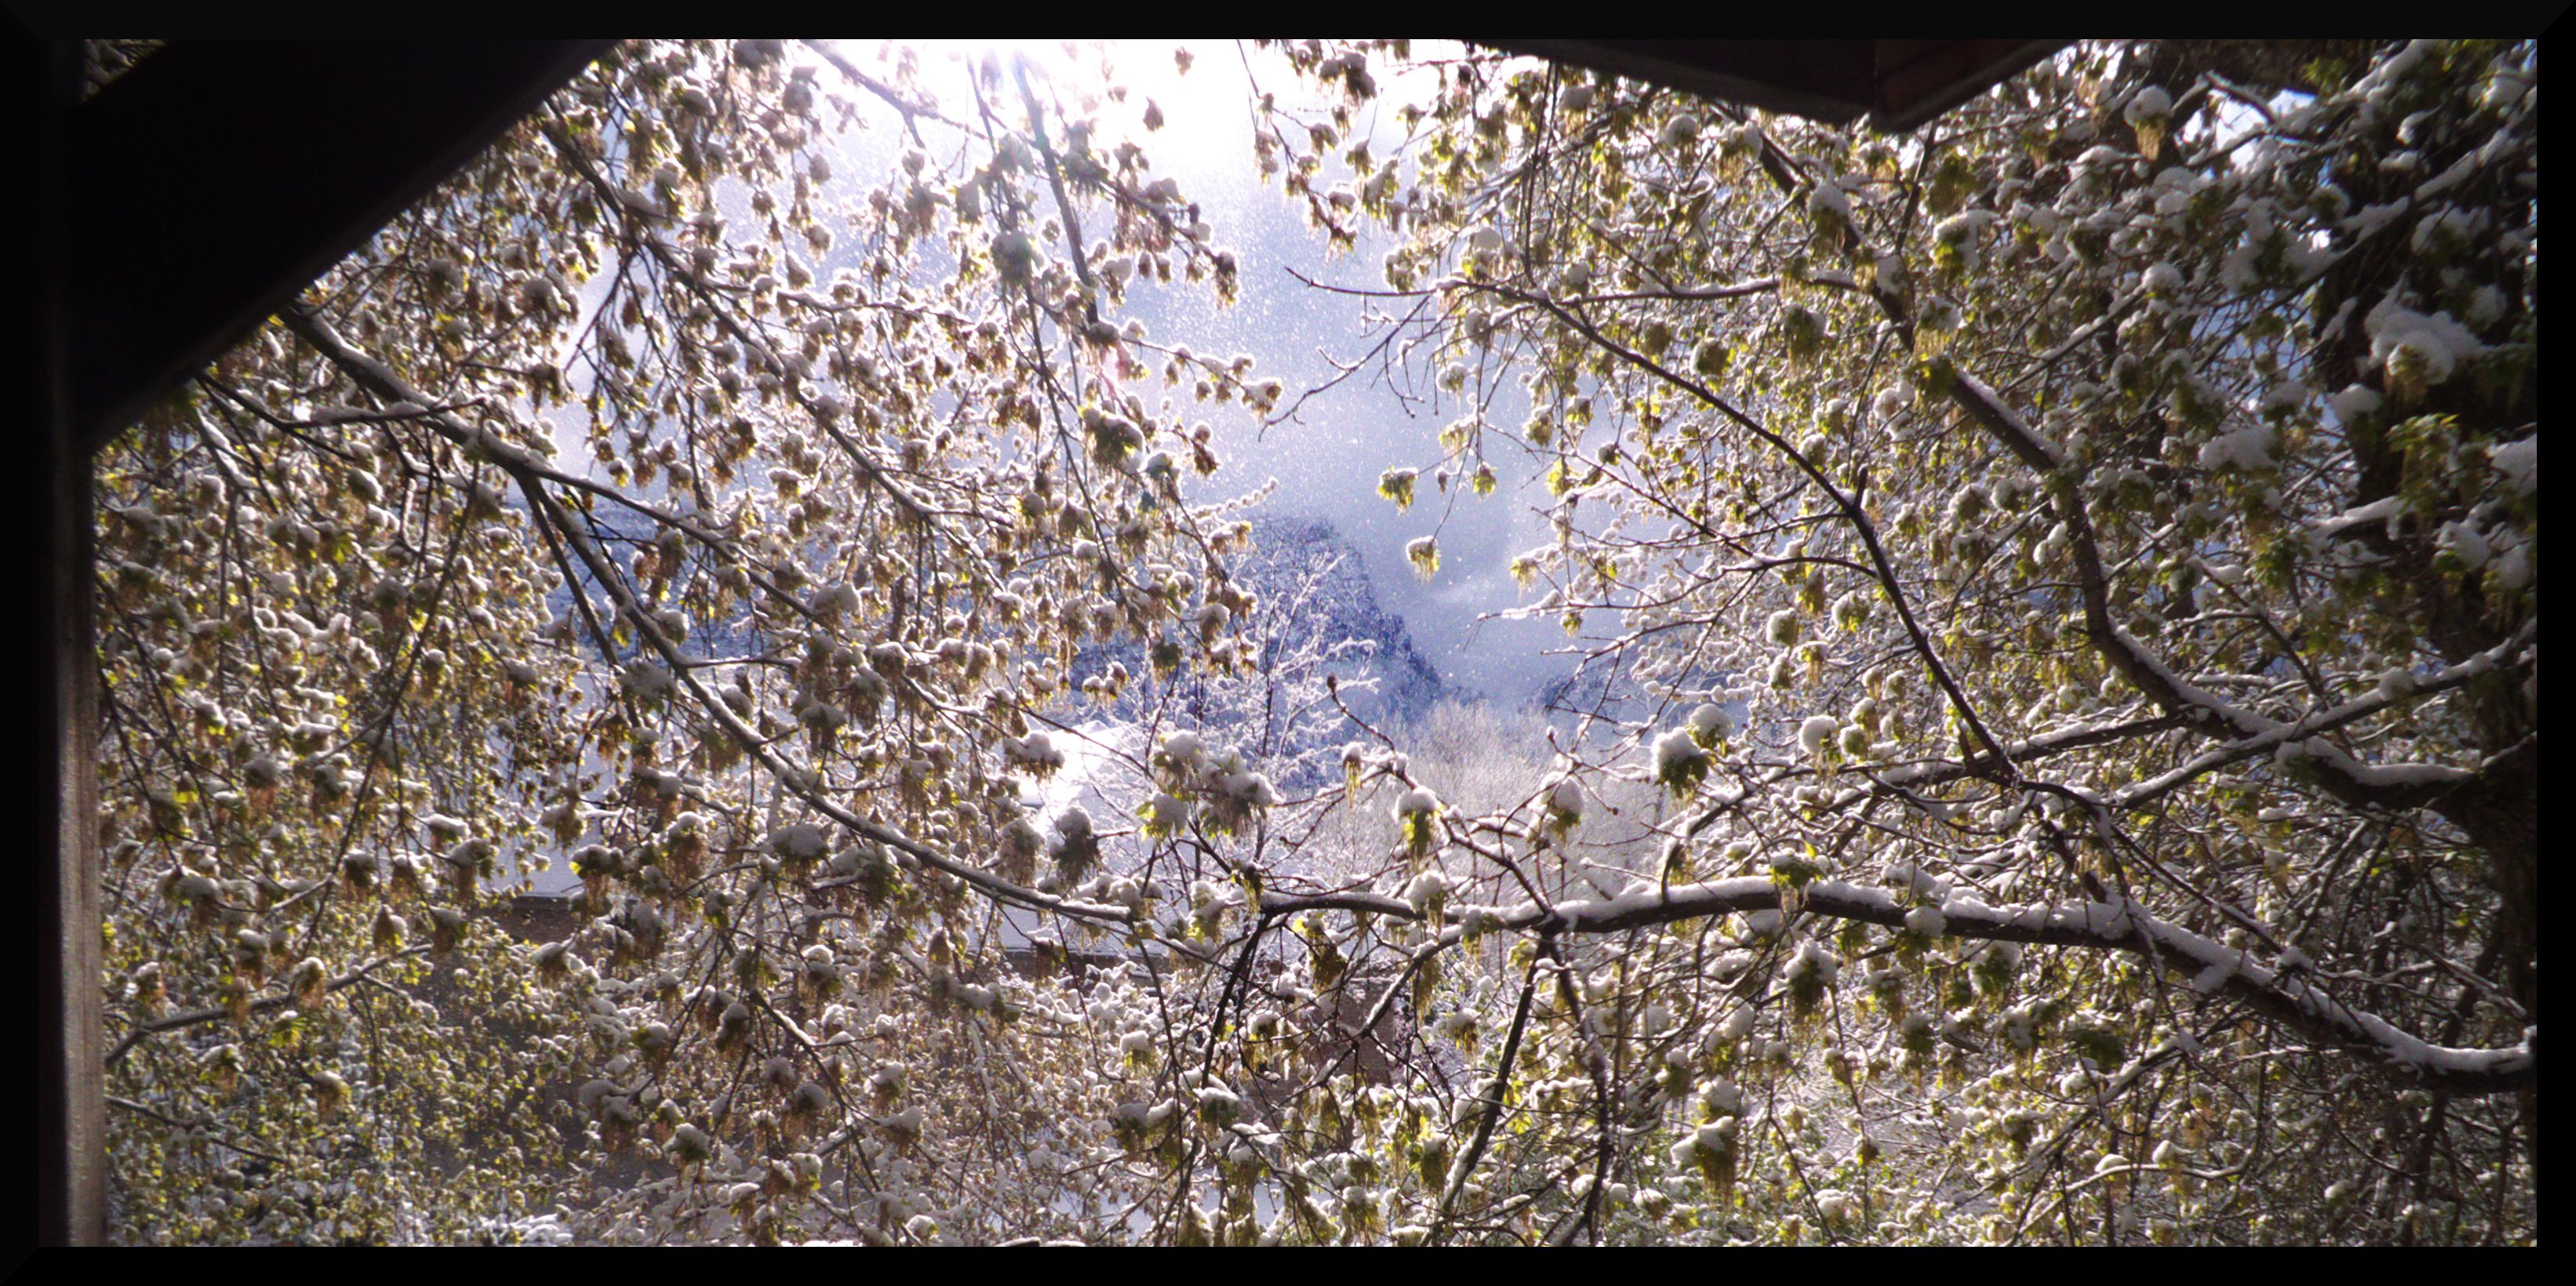
 I love the way this image almost looks natural when it’s flipped on it’s side. You can see a version of the picture flipped upright here. That same link also describes some of the techniques I used to manipulate the color in the image.
 Welcome to the website. You can expect to see some articles on photography for people of all different skill levels. Some interviews with other photographers. I’ll show how I edit my pictures. And if there is anything you would like to see on this site feel free to leave a comment.
(If you navigated to this spot with the arrows on the side, know that if you keep navigating to the right you’re going to hit a bunch of articles about
game design. You’ll want to move left through the articles to see the ones about photography.)
Welcome to the website. You can expect to see some articles on photography for people of all different skill levels. Some interviews with other photographers. I’ll show how I edit my pictures. And if there is anything you would like to see on this site feel free to leave a comment.
(If you navigated to this spot with the arrows on the side, know that if you keep navigating to the right you’re going to hit a bunch of articles about
game design. You’ll want to move left through the articles to see the ones about photography.)

test_image